Saturday, 17 November 2012

Progress on the mitres....


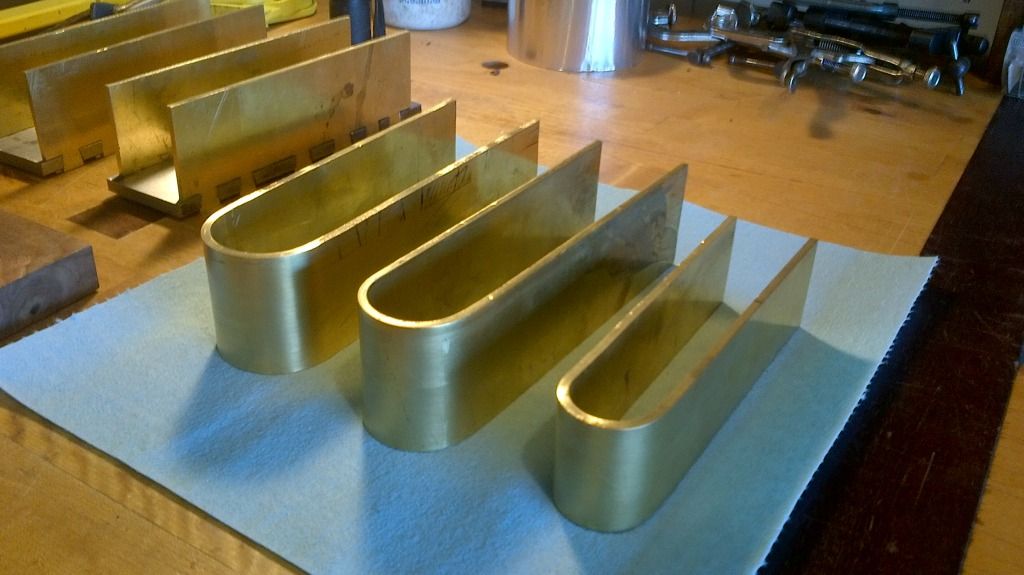
All three of the mitres are now dovetailed, one has been peined together and infilled with madrone burl that I stabilized with acrylic.


This is how the pins are filed with the dovetail shape to provide the space for the peined metal to move into to form the locking double dovetails.


Tennons pass through the sole at the front and back of the plane.


The plane in the background is another block plane sized smoother that i am making for someone. It will be infilled soon with East Indian rosewood.

Tuesday, 23 October 2012

3 Bent Back Mitres


The tale of these 3 bent back mitre planes began before this blog. Its from the stage above I will begin. Earlier steps of bending the sides I will document in a future post.

This type of plane is fairly uncommon in North America, having its roots in Europe. I have for quite some time been following the blog of Bill Carter in the U.K. Who makes a lot of this type of plane.

All the other makers of this type of plane cut the pins in the sides of the plane and then bend to form the shape of the plane. This means you have to be very accurate when you bend so that the dovetails on both sides are perfectly adjacent to each other. I wanted to try bending first then cutting the dovetails (pins really). Here is the piece for the front of the plane. The dovetails will join this piece to the sides. once peined together the joints will almost disappear.


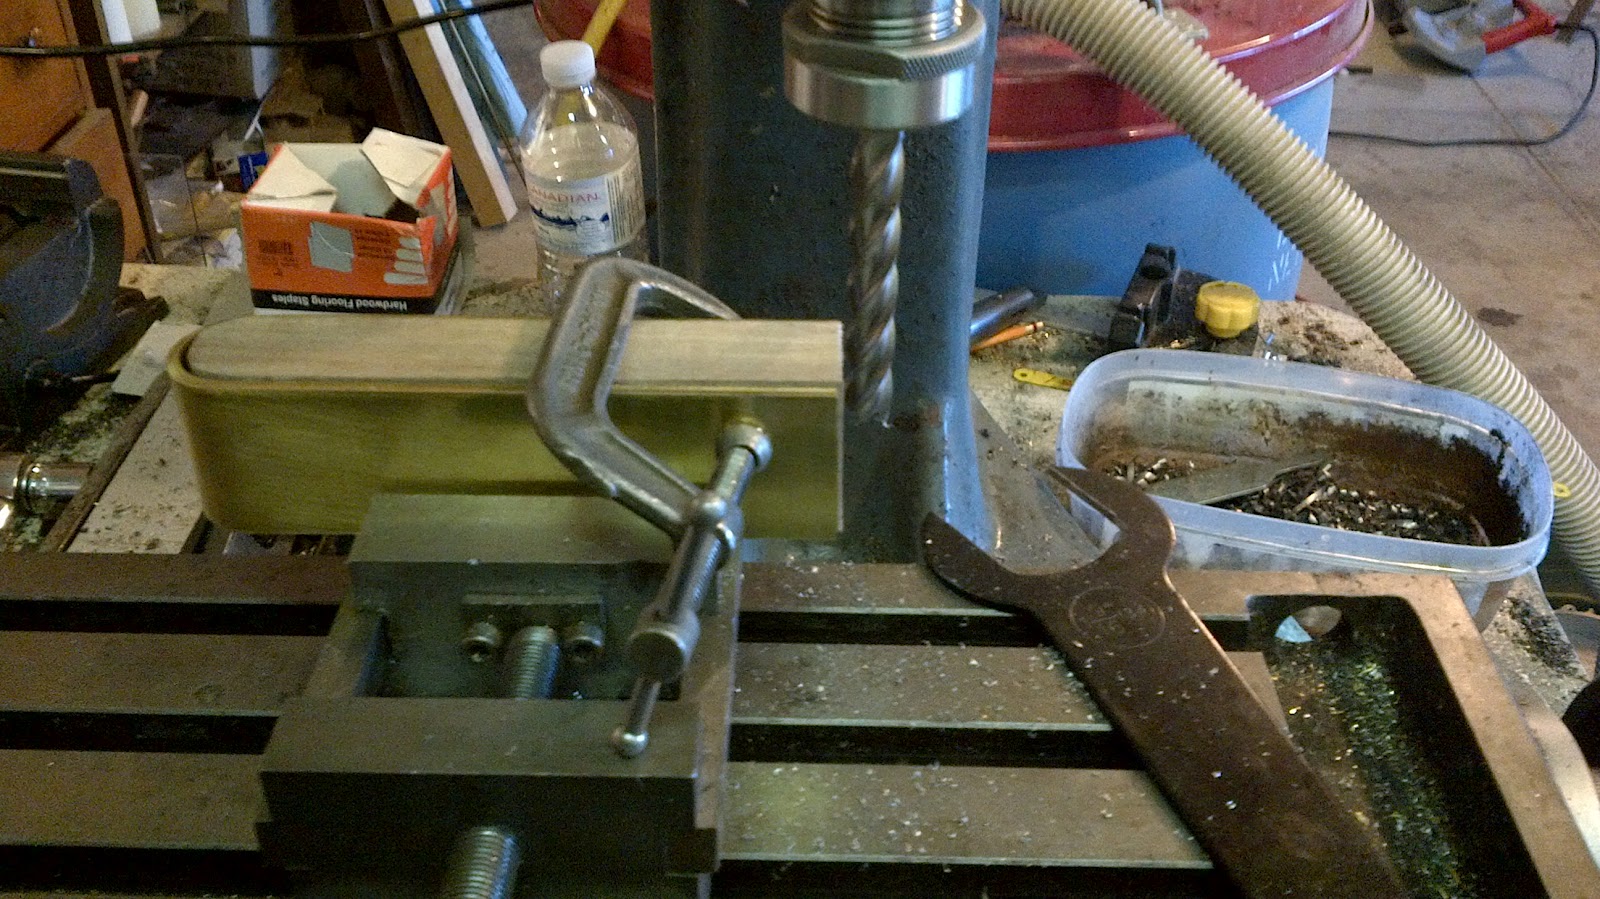
I tried a variety of methods to cut the pins on the bent sides. I tried milling but milling this alloy of brass is not easy as its quite "sticky". I eventually settled on roughing on the band saw then cleaning up on the milling machine. Did not take any pics of the process but this is what I ended up with. I angled the pins approx 10 degrees with a hand file. This is difficult to see here but you will see it when I mark out the dovetails on the sole.

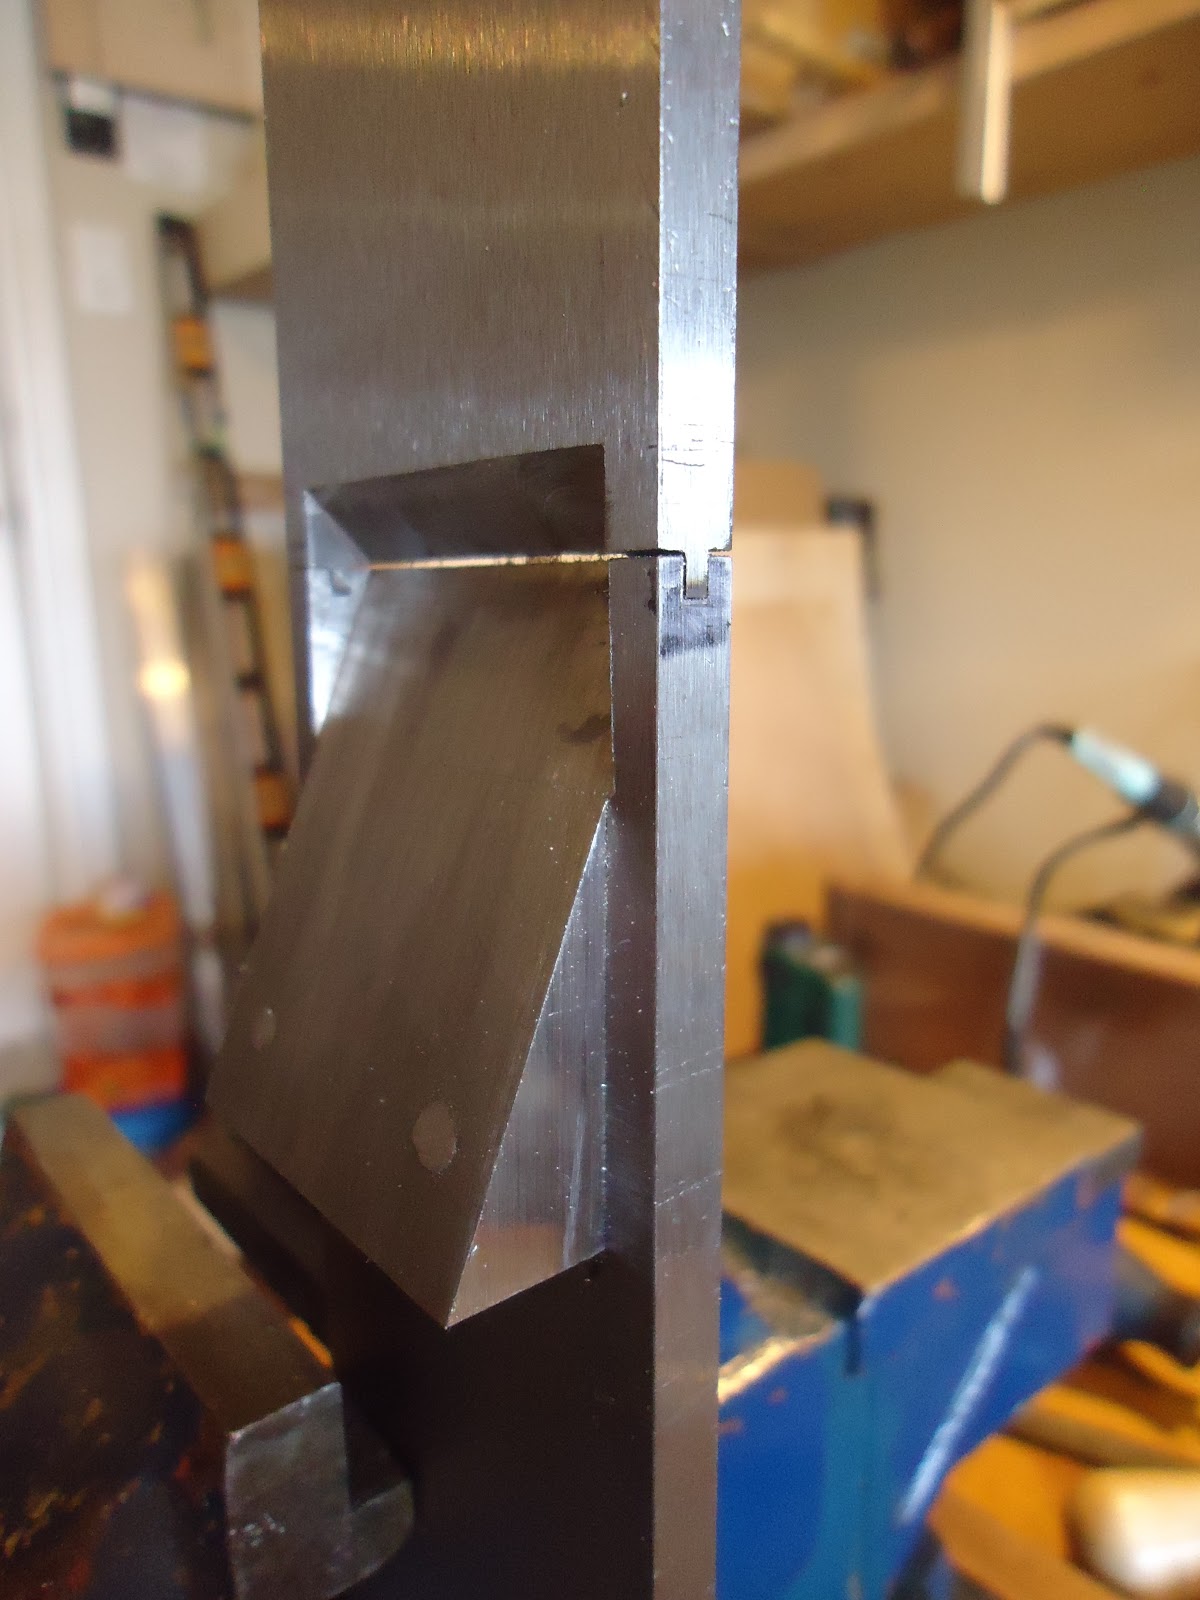
Over the last couple of weeks i have been working on the soles. Although this is a simple looking plane when complete the construction is quite complex, especially the sole. The sole is made in 2 pieces that join together with a tongue and groove joint. I cut the tongue on the mill and the groove by hand with the hacksaw. I use a large sole plate to form a partial frog.  Here it is before the joint is refined with hand files for the perfect fit.


 The Groove is being fine tuned with files.

Here is the front escapement ramp.
 I start with a zero mouth opening that can be lapped open later after plane assembly. This will give me the smallest possible mouth opening.


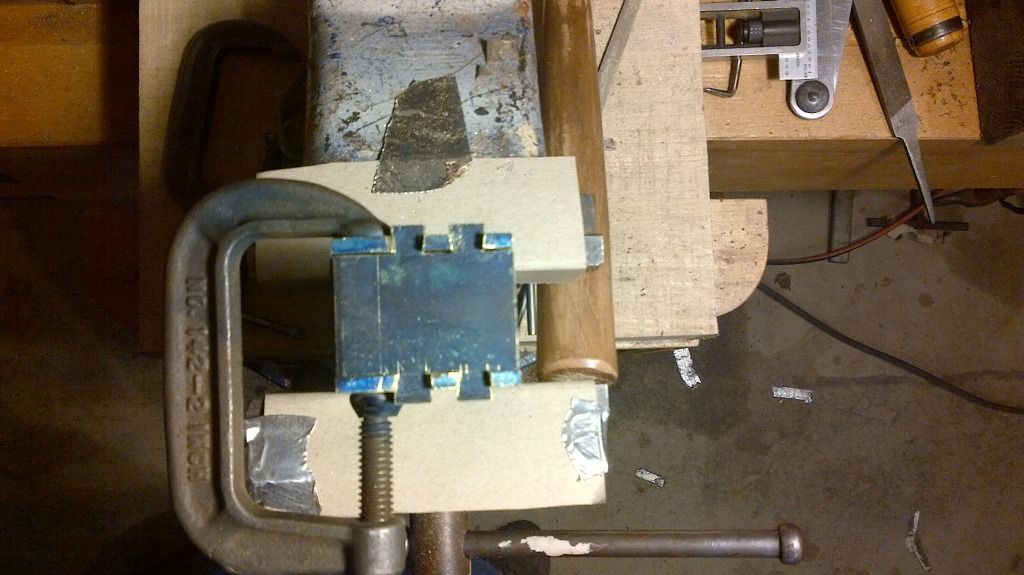
The sole is clamped to ensure a tight joint and the dovetails marked directly from the pins.


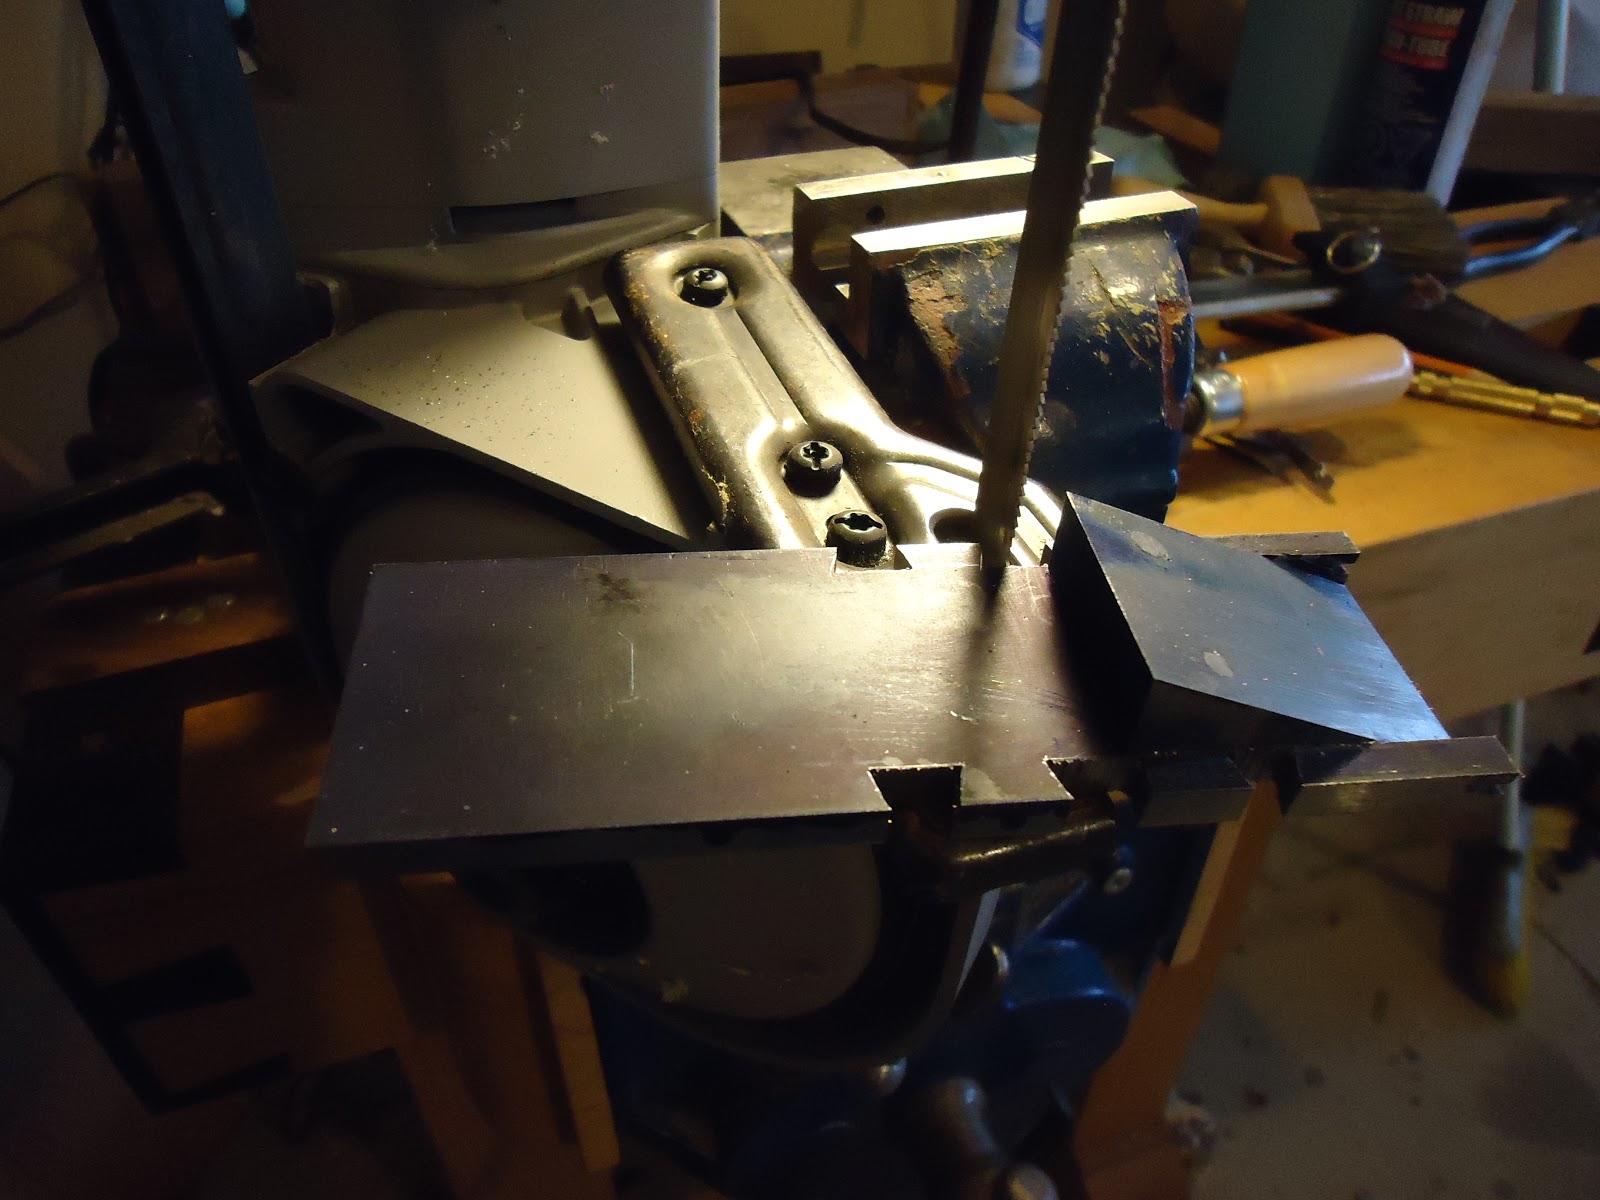
My portaband clamped to my bench is used to rough out the dovetails.  A hacksaw could easily do this too.


One of my favourite tools. A Butterfly die filer.  I use this to refine the dovetails. This old machine does a great job. Its not fast but very controllable and accurate.


That's all for now.

Wayne


Monday, 1 October 2012

Preventing the pain

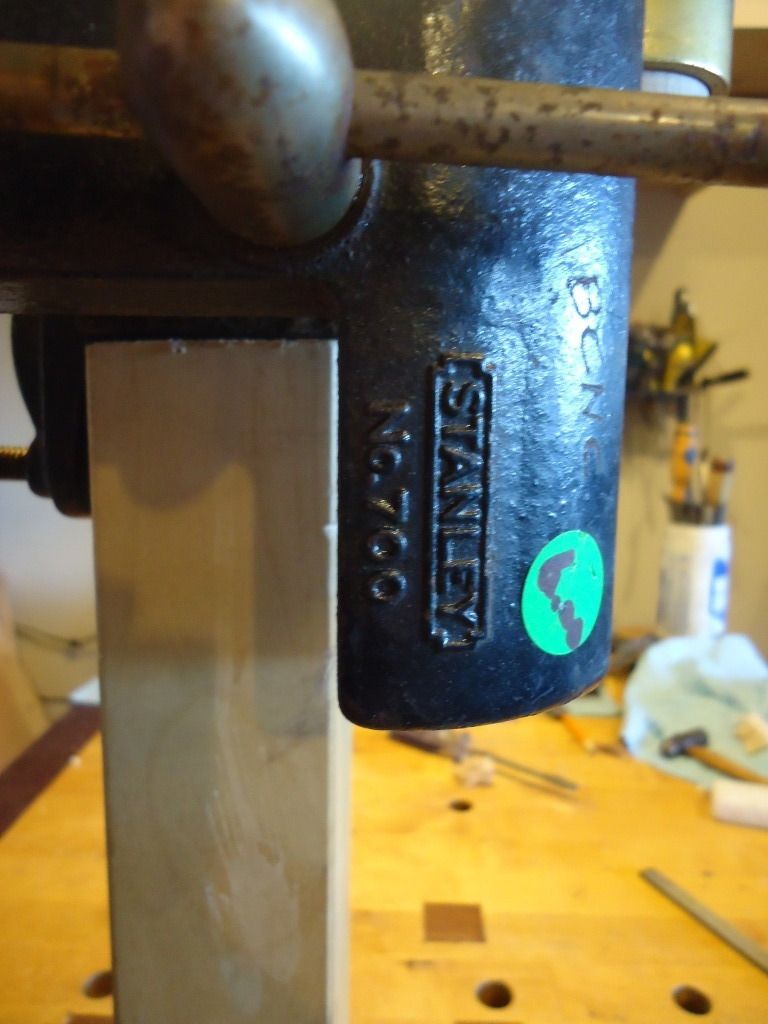
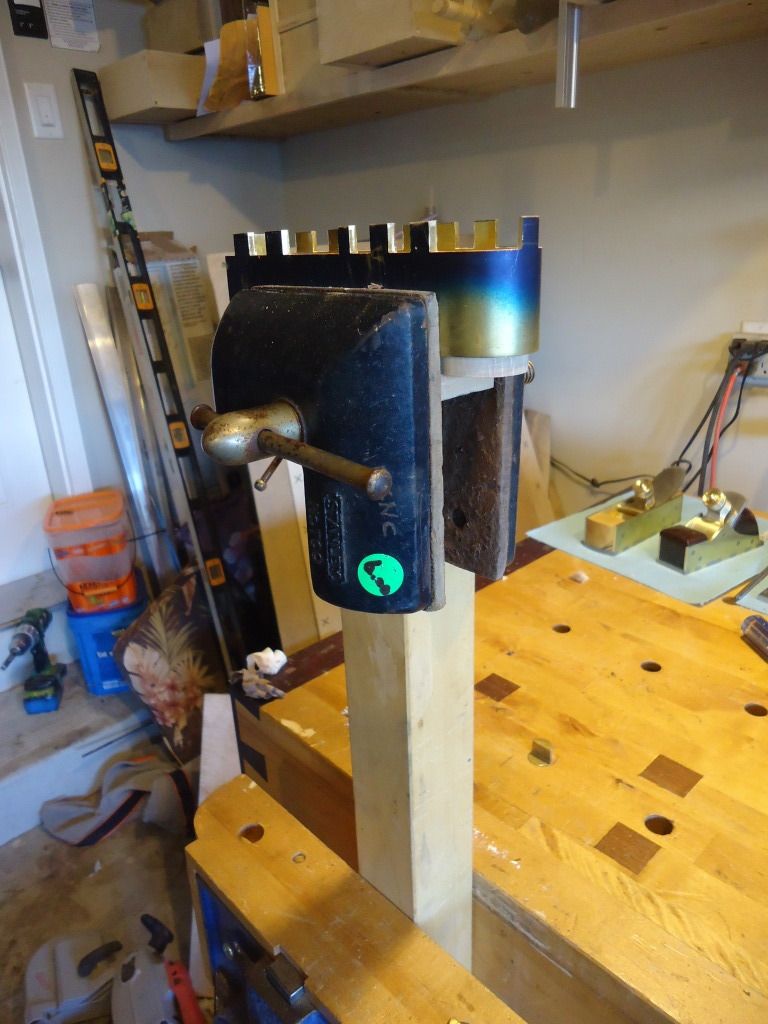
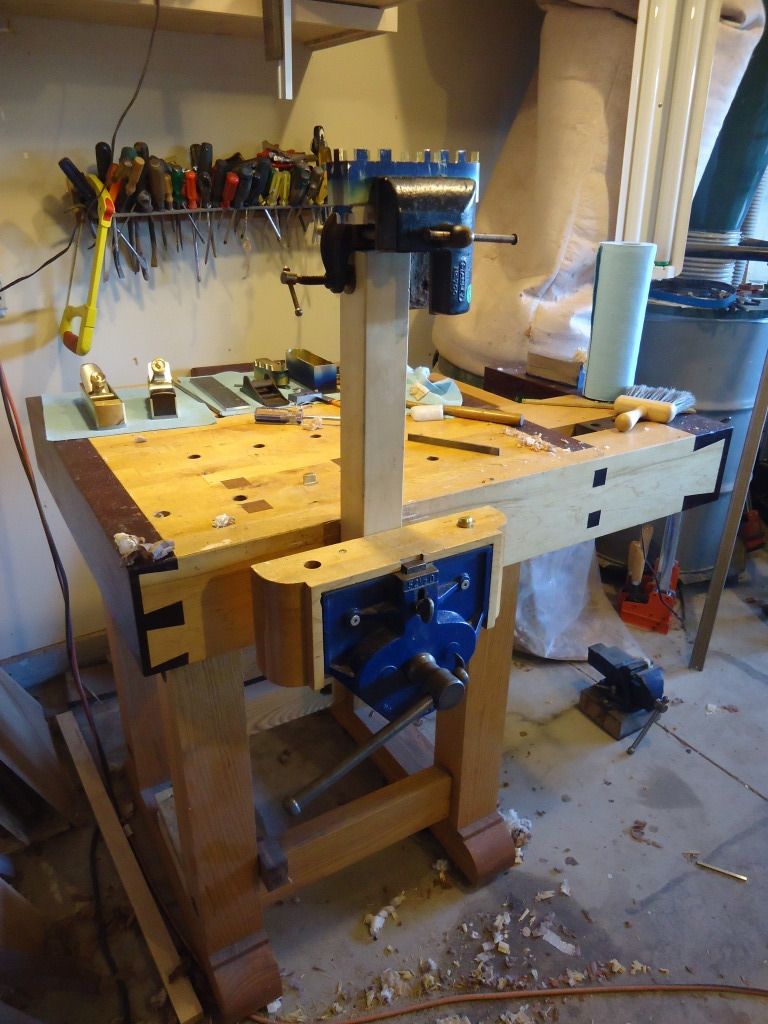
Yesterday I attended the Tools of the Trade show in Pickering, Ontario. For anyone that lives in Southern Ontario who is interested in old hand tools this show is a must. Its held in spring and fall each year and i've not seen as many old hand tools anywhere else. Yesterday I told myself I would only buy things I needed and would try to buy items specifically for for plane making. This is one such $5 purchase. My woodworking joinery bench is perfect height for planing material. When making planes haunched over it my back complains especially after a long filing session. This vice mounted on an old table leg 3x3 in my face vise raises the work and makes filing much easier closer to my eye level. While this set up may look very strange it is actually very sturdy and works well. If I want to work on another side of a plane I can just rotate the 3x3 in the face vise and clamp it down. Yesterday I spent 5 hours wandering between the vendors at the show, saw many awesome infills both old and new mostly stuck to my plan. I think I will get my moneys worth from this $5 purchase.

Friday, 21 September 2012

Boxwood mitre smoother

A little while ago a member of a woodworking forum I read on a daily basis sent me a 3 part article from Furniture and cabinet making magazine. The article was by Karl Holtey and was a plan for a mitre smoothing plane based on the style of the Norris 11 mitre plane. I agreed to make one based loosely around this plan but a little larger. Here is the first one completed tonight. Another one for myself is close behind almost finished.


I had never worked with european boxwood before. While not the most interesting grained or colored wood, its dense tight grain is wonderful to work. The buttery color has really grown on me. I was a little concerned when the request was made to use this wood for this plane as its not that easy to find especially in sizes large enough for infills. This material is sold usually in log form which for boxwood is really quite small with only 3-4 inch diameters typical. Luckily I found some and as an added bonus it was really old and dry. This is what i started with.


The pieces were just large enough when I had removed the split portion from each section. I have a couple pieces left over for the bent back mitres I am working on.

Now i really need to get mine finished...

Thursday, 6 September 2012

The Tools #2 Myford ML7 toolroom lathe


Fine machinery like fine tools bring pleasure every time they are used. This is one such piece of machinery. This lathe like me was born in Nottinghamshire U.K. in the 70's. It was made a few miles from where i was born i think in the same year too! I am very fond of this lathe, its capable of very precise and accurate work to within thousandths of an inch. I was fortunate enough to pick it up a few years ago from a retired gentleman who used it to make brass clock parts. It was well cared for with very little wear. I use it often to make lever cap screws, pivot pins and infill spacers. It does all i need for planemaking and making other hand tools like small brass plane adjusting hammers and tool handles in wood. I could not imagine buying a chinese import after using this fine lathe. I really like buying old used machinery.

Wednesday, 5 September 2012

The tools #1 "The Hogger"

I have a real love hate relationship with this piece of machinery. I love the operations this type of machine can do in making planes. I can cut dove tails , open up the mouth of the sole of a plane and true the frog of a plane for example. The hate comes from how much damage this machine can do in an instant to a piece of work you already have many hours of work into. Admittedly ( if thats a real word) some of the damage is self inflicted as i am a self taught "machinist" so i probably do things i am not supposed to. This machine is also a little old and worn, there is more backlash than i would like. I am sure this wont be my last milling machine but for now i could not live without it. I can do the processes manually by hand but when you make planes in your spare time like i do a machine like this to do the "hogging" or rough work is really appreciated. Here are some more pics of some of the milling operations.


Wednesday, 22 August 2012

Where to start? Infill plane making.

I'm not a blogger. I don't know how to blog either and I will admit my grammar is not great. For these reasons my blog may seem to some as just plain rambling. For me I would like to use this blog as my way of communicating my random thoughts on my infill plane making and the planes I produce to anyone who cares to be interested. I hope there are a few others out there...

A few months ago I attended a Lie Nielsen show at Century Mill in Toronto. I also saw some infill planes from another maker there too. I have been using hand planes now for about five years but when i picked these infills up they felt very different to the normal stanley type planes I was used to. They felt rock solid in use. No vibration or chatter whatsoever. They were beautiful and i was hooked.
The internet is an amazing place. For the curious like me its a never ending source of knowledge that can consume hours and hours of your life if your not careful. Since that day I picked up that infill plane I will admit have been consumed. I have never been afraid to build anything, and armed with the internet and this lack of fear my planemaking obsession has begun.
Here is some evidence of the damage so far...