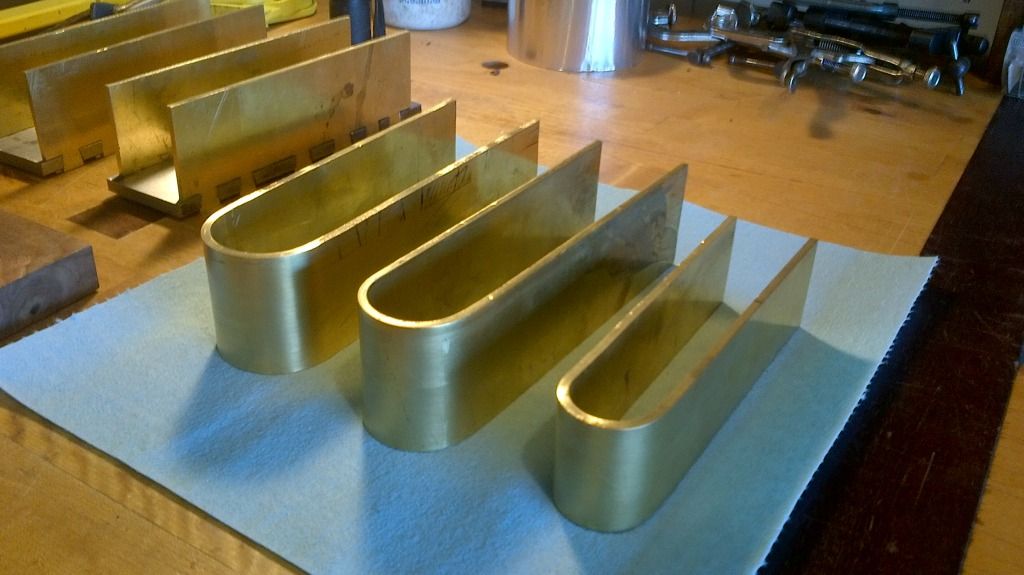
The tale of these 3 bent back mitre planes began before this blog. Its from the stage above I will begin. Earlier steps of bending the sides I will document in a future post.
This type of plane is fairly uncommon in North America, having its roots in Europe. I have for quite some time been following the blog of Bill Carter in the U.K. Who makes a lot of this type of plane.
All the other makers of this type of plane cut the pins in the sides of the plane and then bend to form the shape of the plane. This means you have to be very accurate when you bend so that the dovetails on both sides are perfectly adjacent to each other. I wanted to try bending first then cutting the dovetails (pins really). Here is the piece for the front of the plane. The dovetails will join this piece to the sides. once peined together the joints will almost disappear.
I tried a variety of methods to cut the pins on the bent sides. I tried milling but milling this alloy of brass is not easy as its quite "sticky". I eventually settled on roughing on the band saw then cleaning up on the milling machine. Did not take any pics of the process but this is what I ended up with. I angled the pins approx 10 degrees with a hand file. This is difficult to see here but you will see it when I mark out the dovetails on the sole.

Over the last couple of weeks i have been working on the soles. Although this is a simple looking plane when complete the construction is quite complex, especially the sole. The sole is made in 2 pieces that join together with a tongue and groove joint. I cut the tongue on the mill and the groove by hand with the hacksaw. I use a large sole plate to form a partial frog. Here it is before the joint is refined with hand files for the perfect fit.
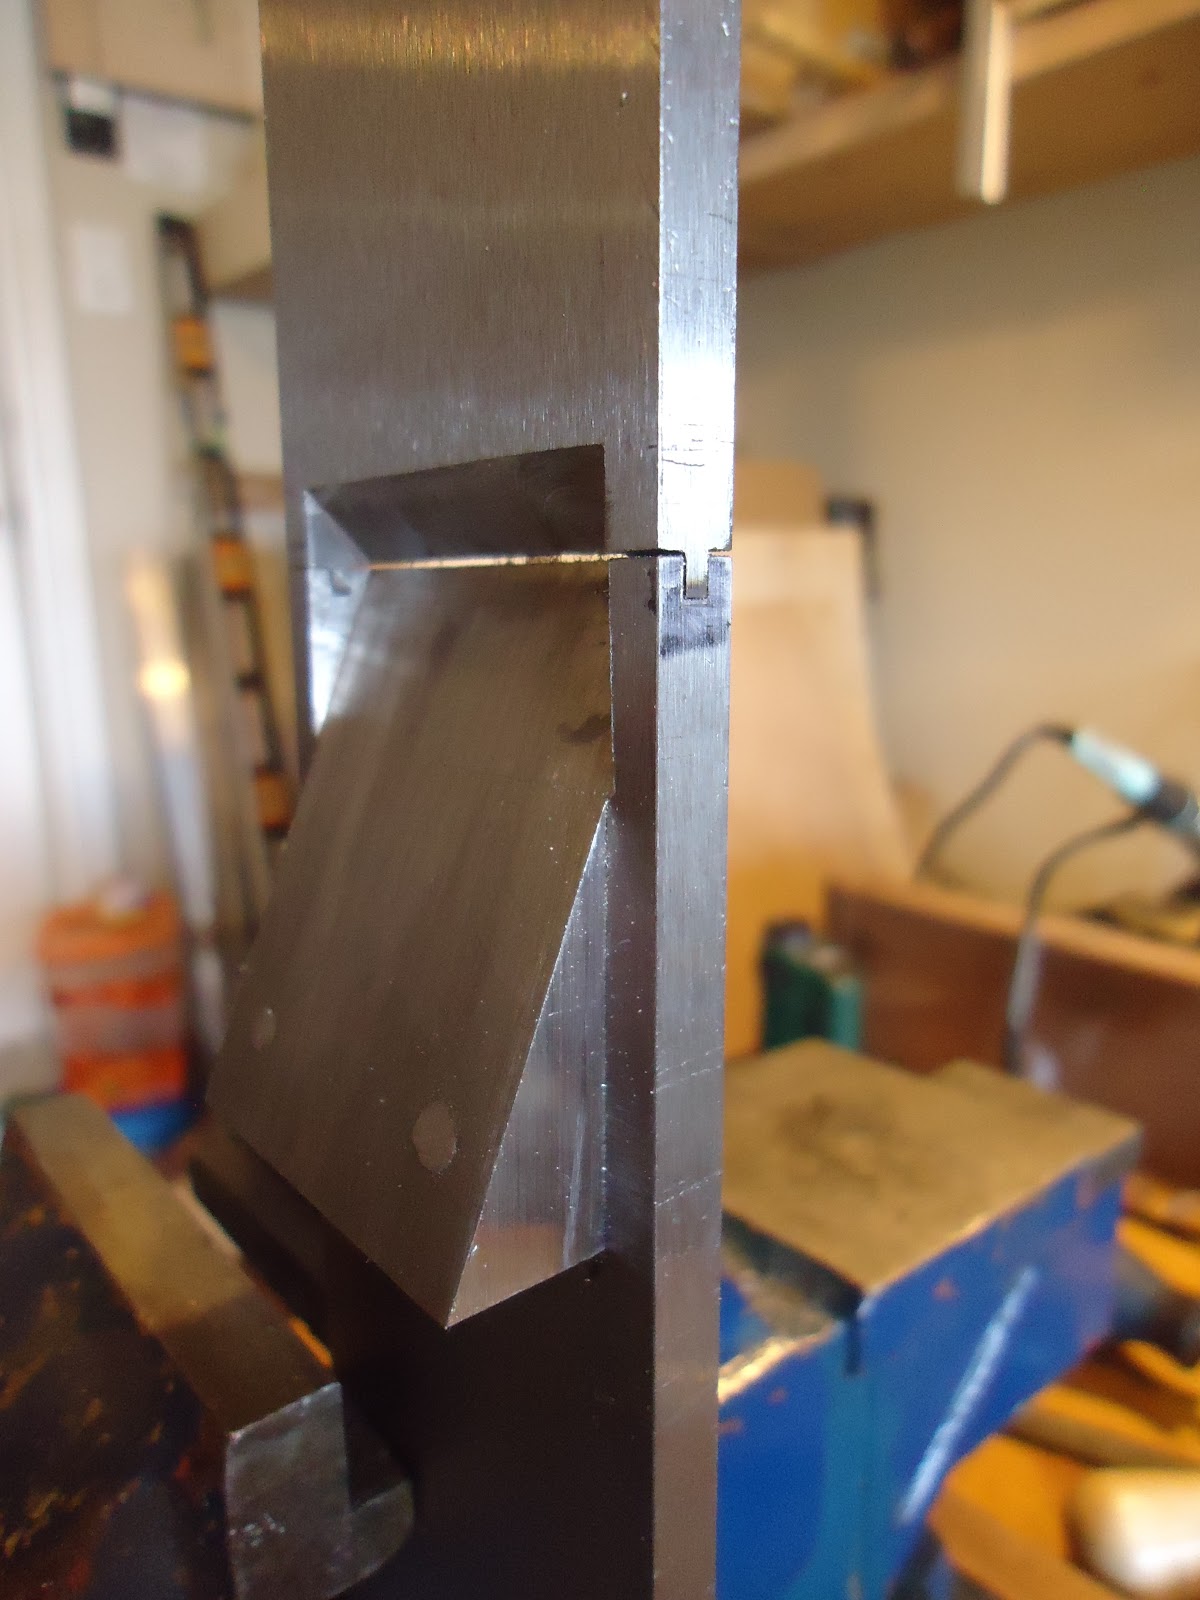


Here is the front escapement ramp.


 |
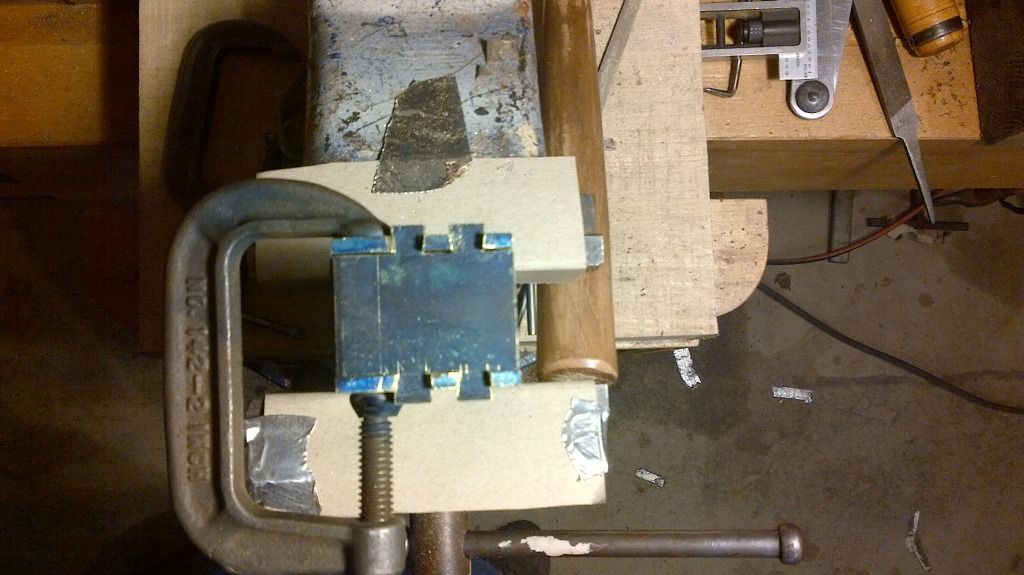
| The sole is clamped to ensure a tight joint and the dovetails marked directly from the pins. |

 |
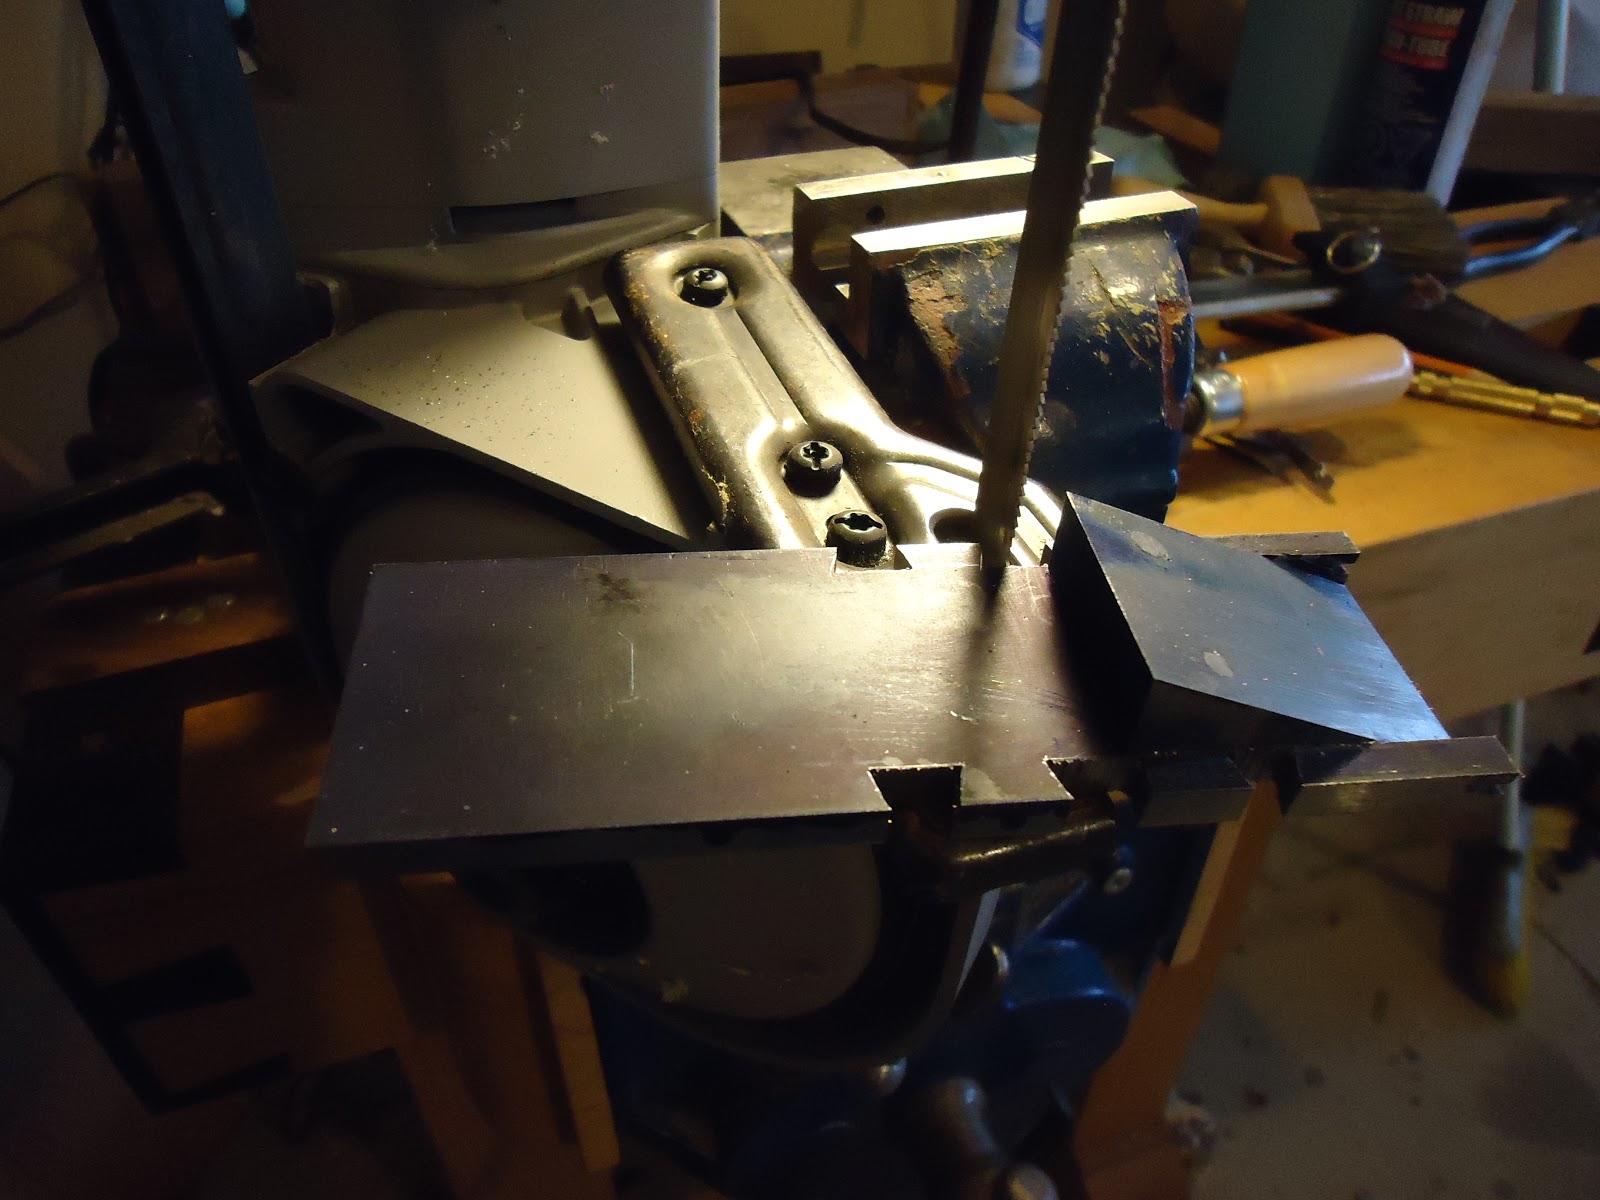
| My portaband clamped to my bench is used to rough out the dovetails. A hacksaw could easily do this too. |

 |
| One of my favourite tools. A Butterfly die filer. I use this to refine the dovetails. This old machine does a great job. Its not fast but very controllable and accurate. |


That's all for now.
Wayne
Great site! I just signed onto WoodNet and saw an infill post you did there. Thank you for going to this effort, to chronicle your work. I have to do one of these!
ReplyDeleteI've found that WD-40 makes a good cutting fluid on the stickier materials. It helps to make the flutes of the cutter a bit more slick.
ReplyDeleteThanks mark, I will give that a try. One more good use for WD-40, I use it a lot.
ReplyDeleteWayne
Hi Bruce, thanks for the kind words. I'm kind of new to this blog thing so the feed back is appreciated.
ReplyDeleteWayne
Thanks for sharing your work, fascinating process. Gonna try this someday...
ReplyDelete